

Our Fireplace Renovation- Tiling a Fireplace!

BEFORE

AFTER
This was our fireplace when we first moved in to our home in March 2020. We didn’t think much about changing the fireplace, but one day decided to just go for it and Mack embarked on one of the largest projects he has done (besides the entire fence for the backyard). We had to borrow a wet saw from my uncle, and my biggest tip to make sure you know someone who will loan it to you or to look into buying one if you think you will tile again!
What we would do differently: They sell sheets of small tiles like for backsplashes that are already in a chevron pattern. We love our fireplace and the way it turned out, but it would have saved Mack a TON of trouble if he would have had the chevron pattern already done for him and it would have taken so much less time to put them up and cut across the sheet.
We added a piece of molding to the inside of the tile on the wall, and it made the edges look so much cleaner which I highly recommend. It just makes it look complete!
Unfortunately, I published this post 2 years after the project was completed so I do not have record of how much we spent. I would estimate around the $250 range- we could have spent more or less and it depends on the tile you choose to use. Something else to note- we purchased more tile than we needed, and Lowe’s allows you to bring back any tiles you don’t use in the project.


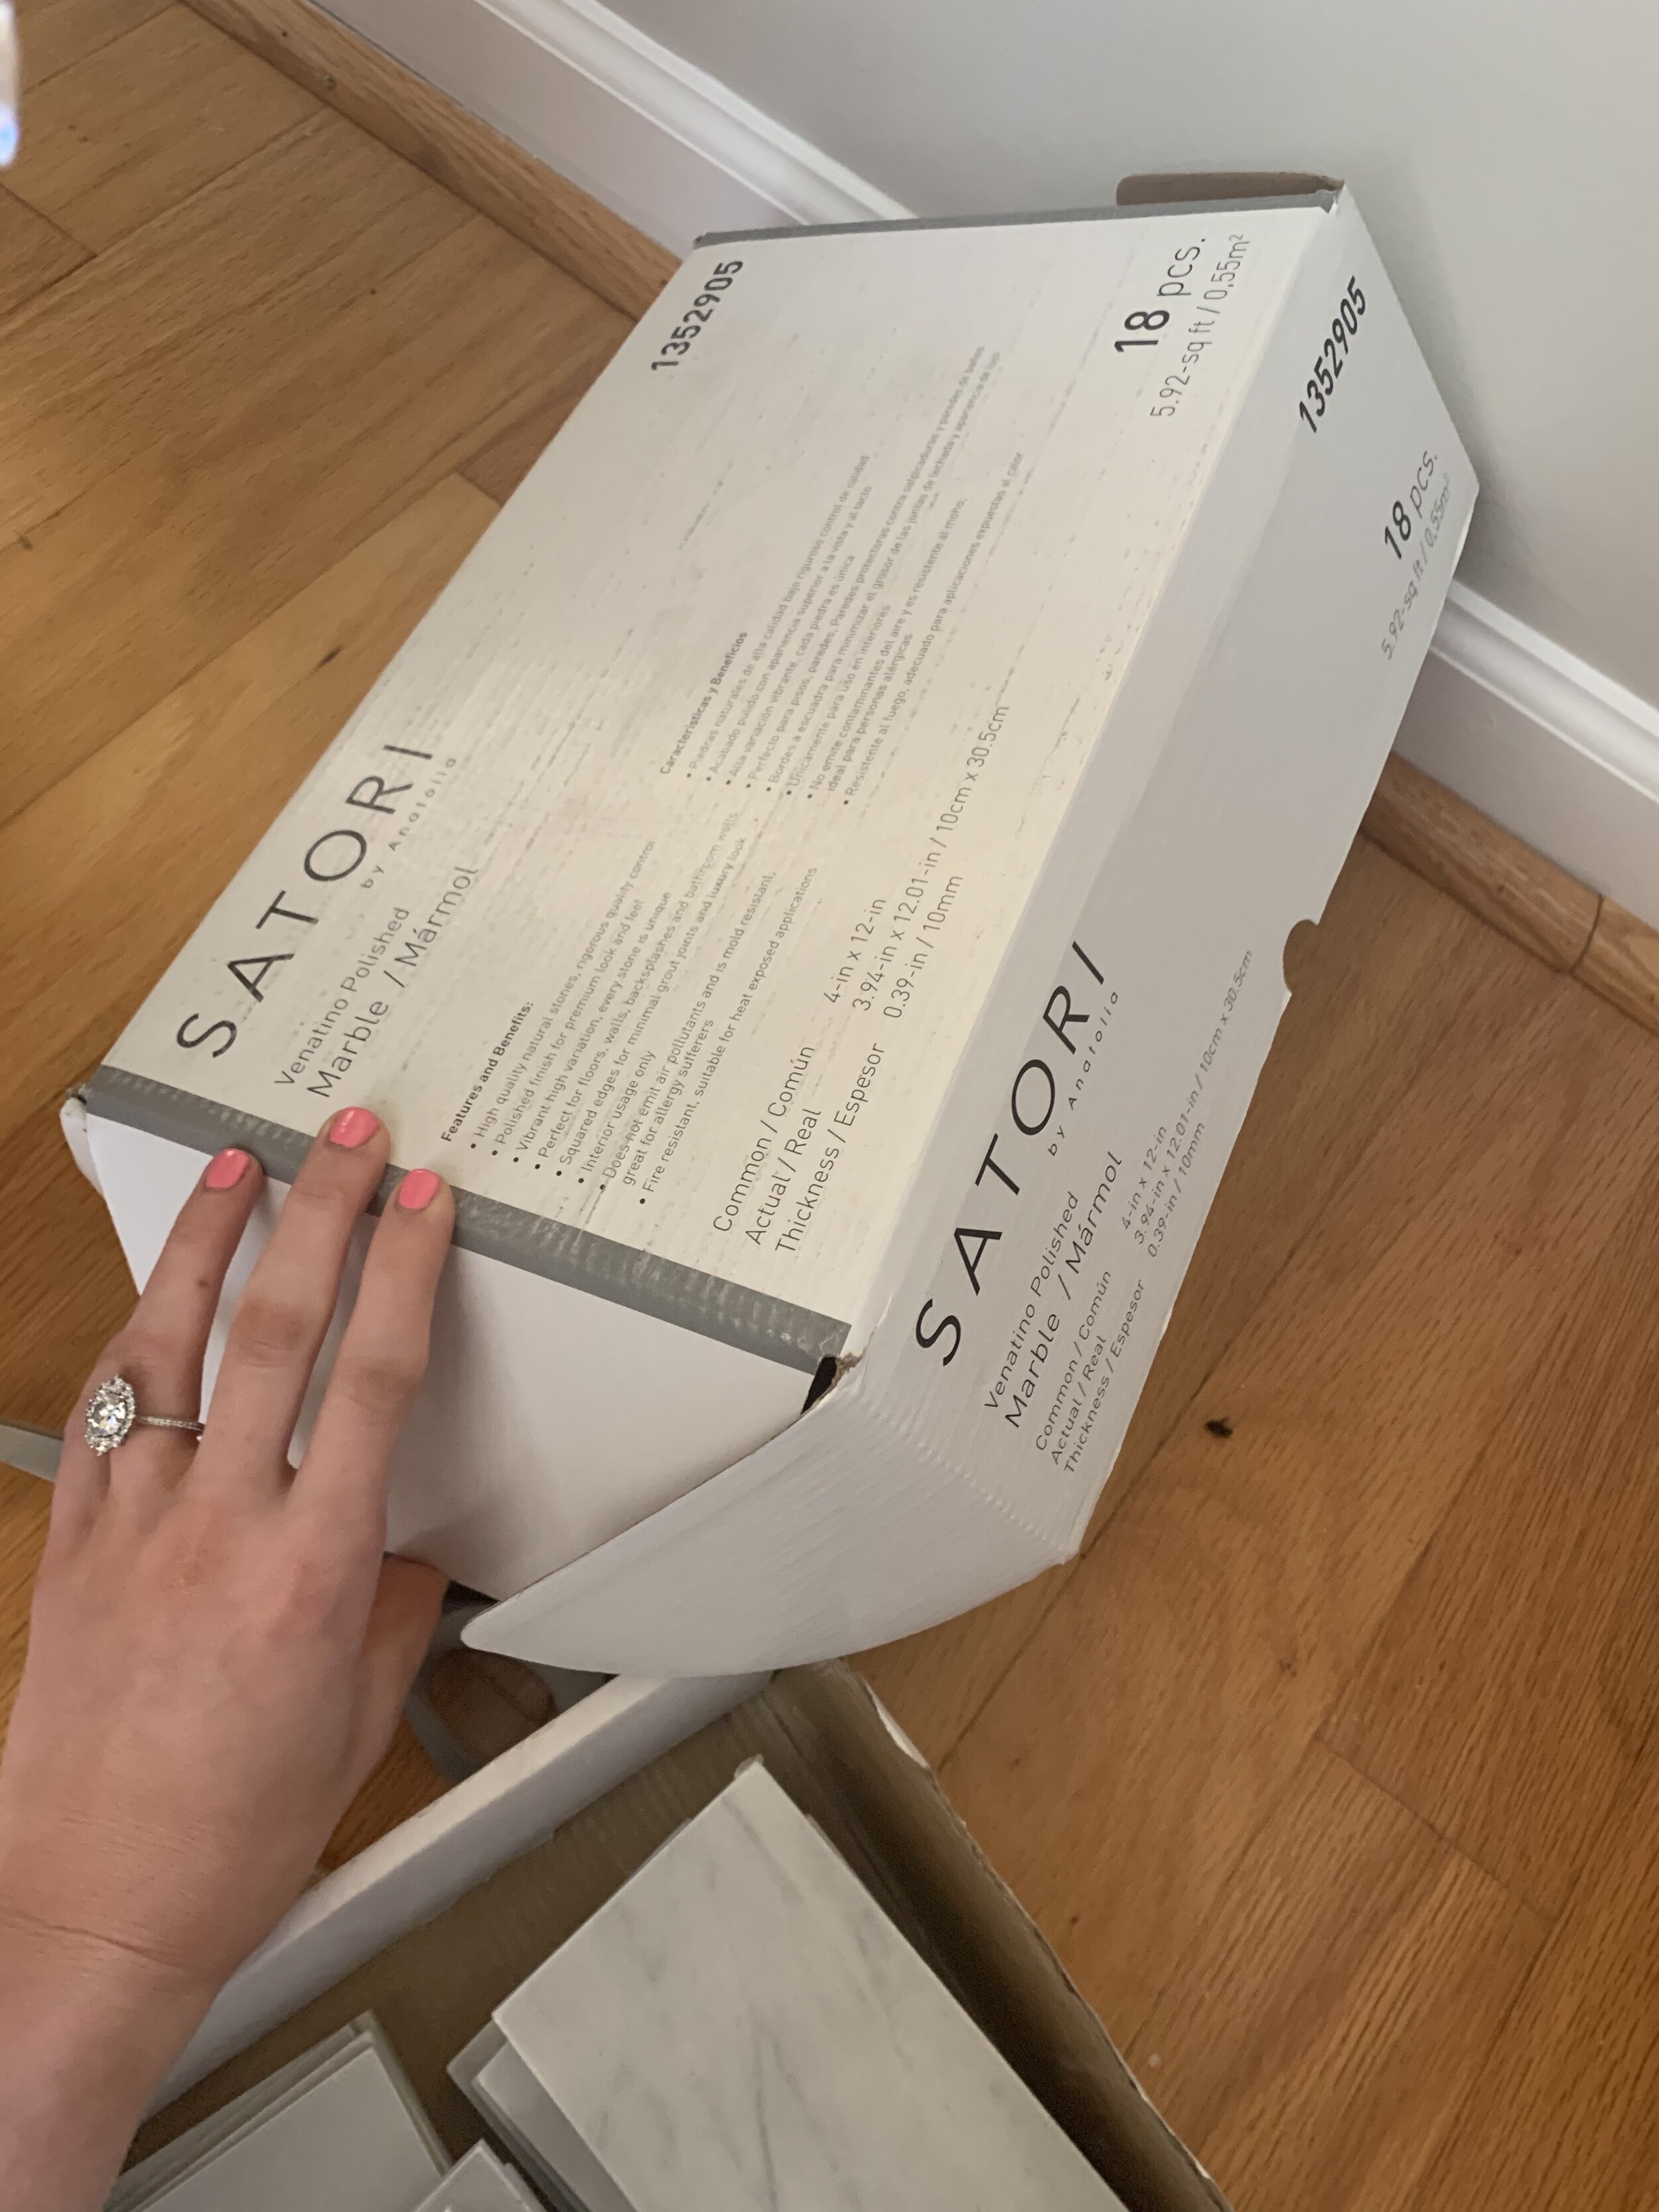


Here is everything we purchased from Lowe’s to do our project:


Instructions by my husband:
We did not sand down the black slate. I found the center point of the fireplace and drew a chalk line so we would know pattern would be straight and level. Laid out the tile before hand so we could see the colors and make sure darker and lighter tiles were evenly spaced.
My advice when tiling and dealing with a wet saw is to cut more than one piece at one time- cutting all 45 degree angles at one time. I did each one as I went and it took more time than necessary.
Spread the mortar on the slate with the trowel, in small sections so it doesn’t dry. using the tile spacers, space your tiles. If you’re using small tiles like we did, no need to “back butter” the tiles. I started laying the tile at the top in the middle, which is how to do it if you’re doing herringbone, work your way out from center.
After tiles are laid and the mortar is dried (24 hours), then I mixed grout in a bucket and spread it over the tiles with a float, and then wiped the excess with a damp sponge. Use two buckets: one for clean water, one for dirty water.
The grout we used had sealer in it, so we did not use any sealer at the end of the project. Then we sealed the edges with caulk and added white trim to give the fireplace a finished look and frame it.