

My Gel Nail Tutorial
Fun Fact: I’ve gotten my nails done at a nail salon once in the past 6 years. And I hated the way they looked and how thin the gel polish was, and three of my nails broke the week after. I have done my own gel nails since the end of my senior year in high school, and I have saved SO much money and my nails are always done. I know dip powders are super popular right now, but since I have my own gel kit and enjoy doing my own nails, I have never felt like I’m missing out or need to go get the powder manicure.
Every time I tell people I do my own gel nails, I get the same shocked expression and lots of questions, so I wanted to share my exact gel nail process, and at the end I will share how I remove them super easy every time I want to change colors! I have had this same light from my first RedCarpet kit since freshman year of college, and it has yet to burn out and I use it at least once every two-three weeks. RedCarpet is my favorite gel nail polish brand, but you can also use other brand colors with the RedCarpet base coat and top coat, just like I’m doing here! Gelish is the only other gel brand I actually love because it dries as nicely as the RedCarpet brand does, without bubbles and ripple effects like some other brands tend to do.
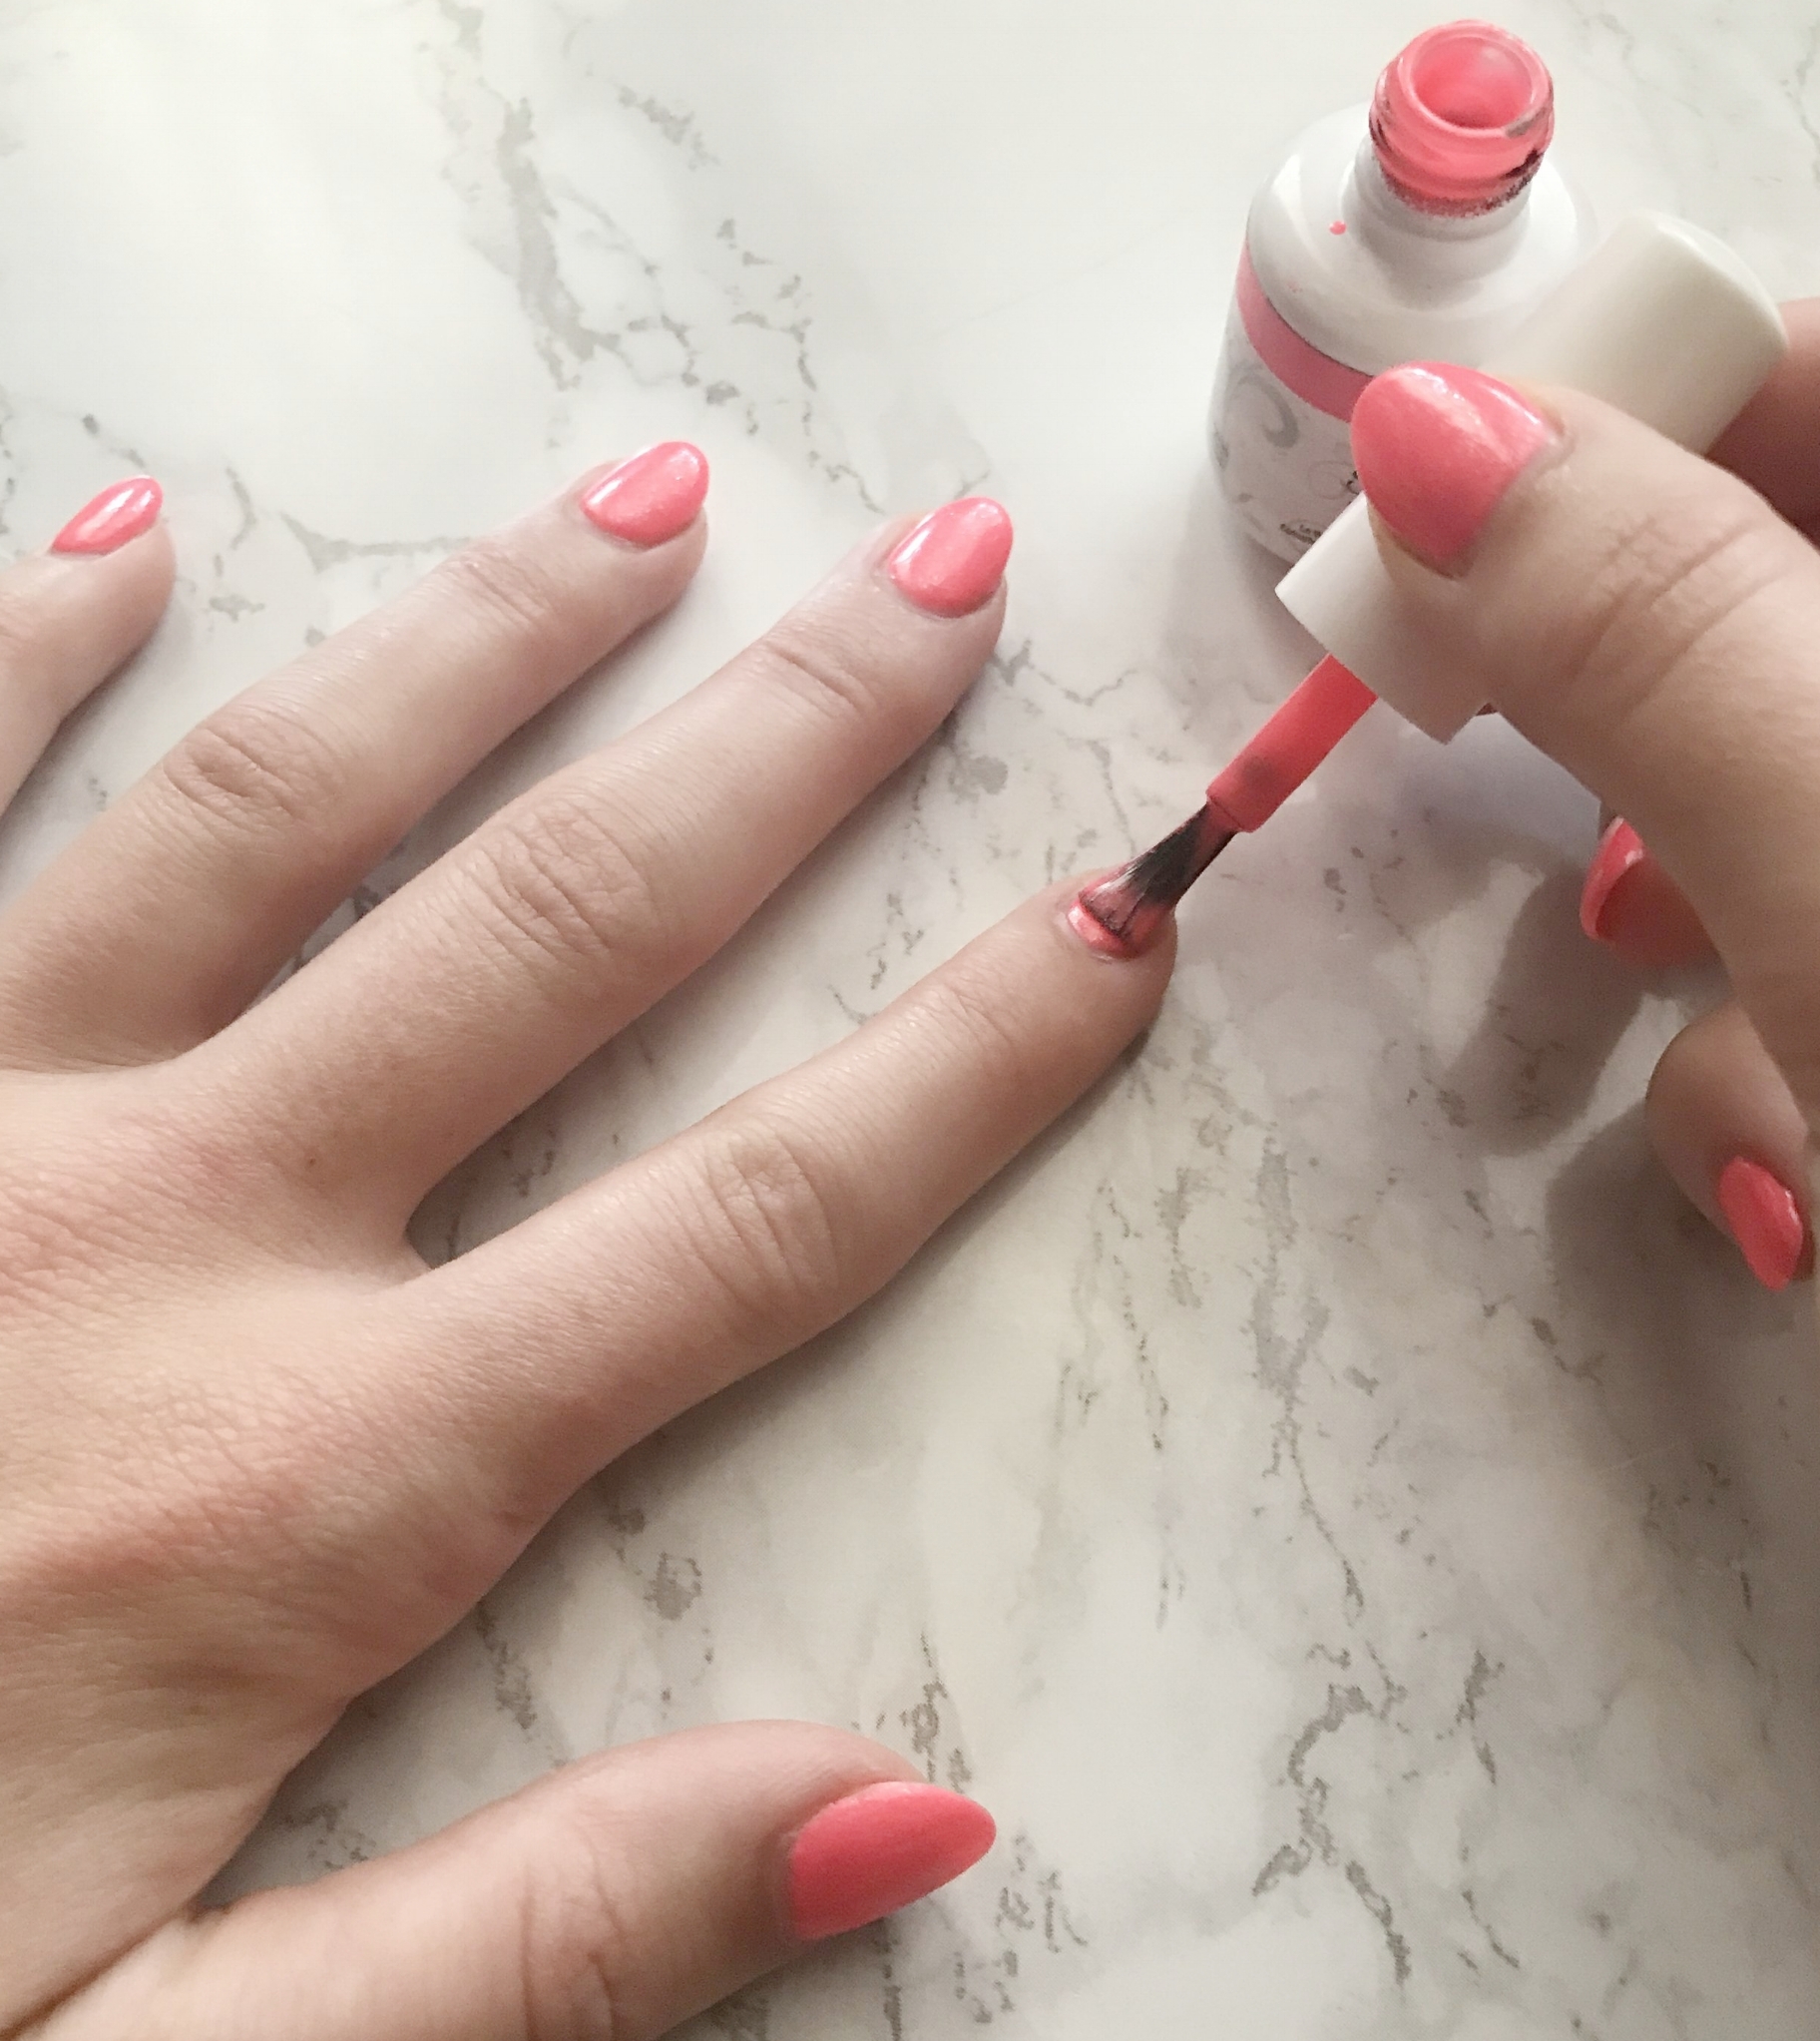
In this tutorial, I am fixing one nail that I peeled off. All products used are linked below at the bottom of this post!
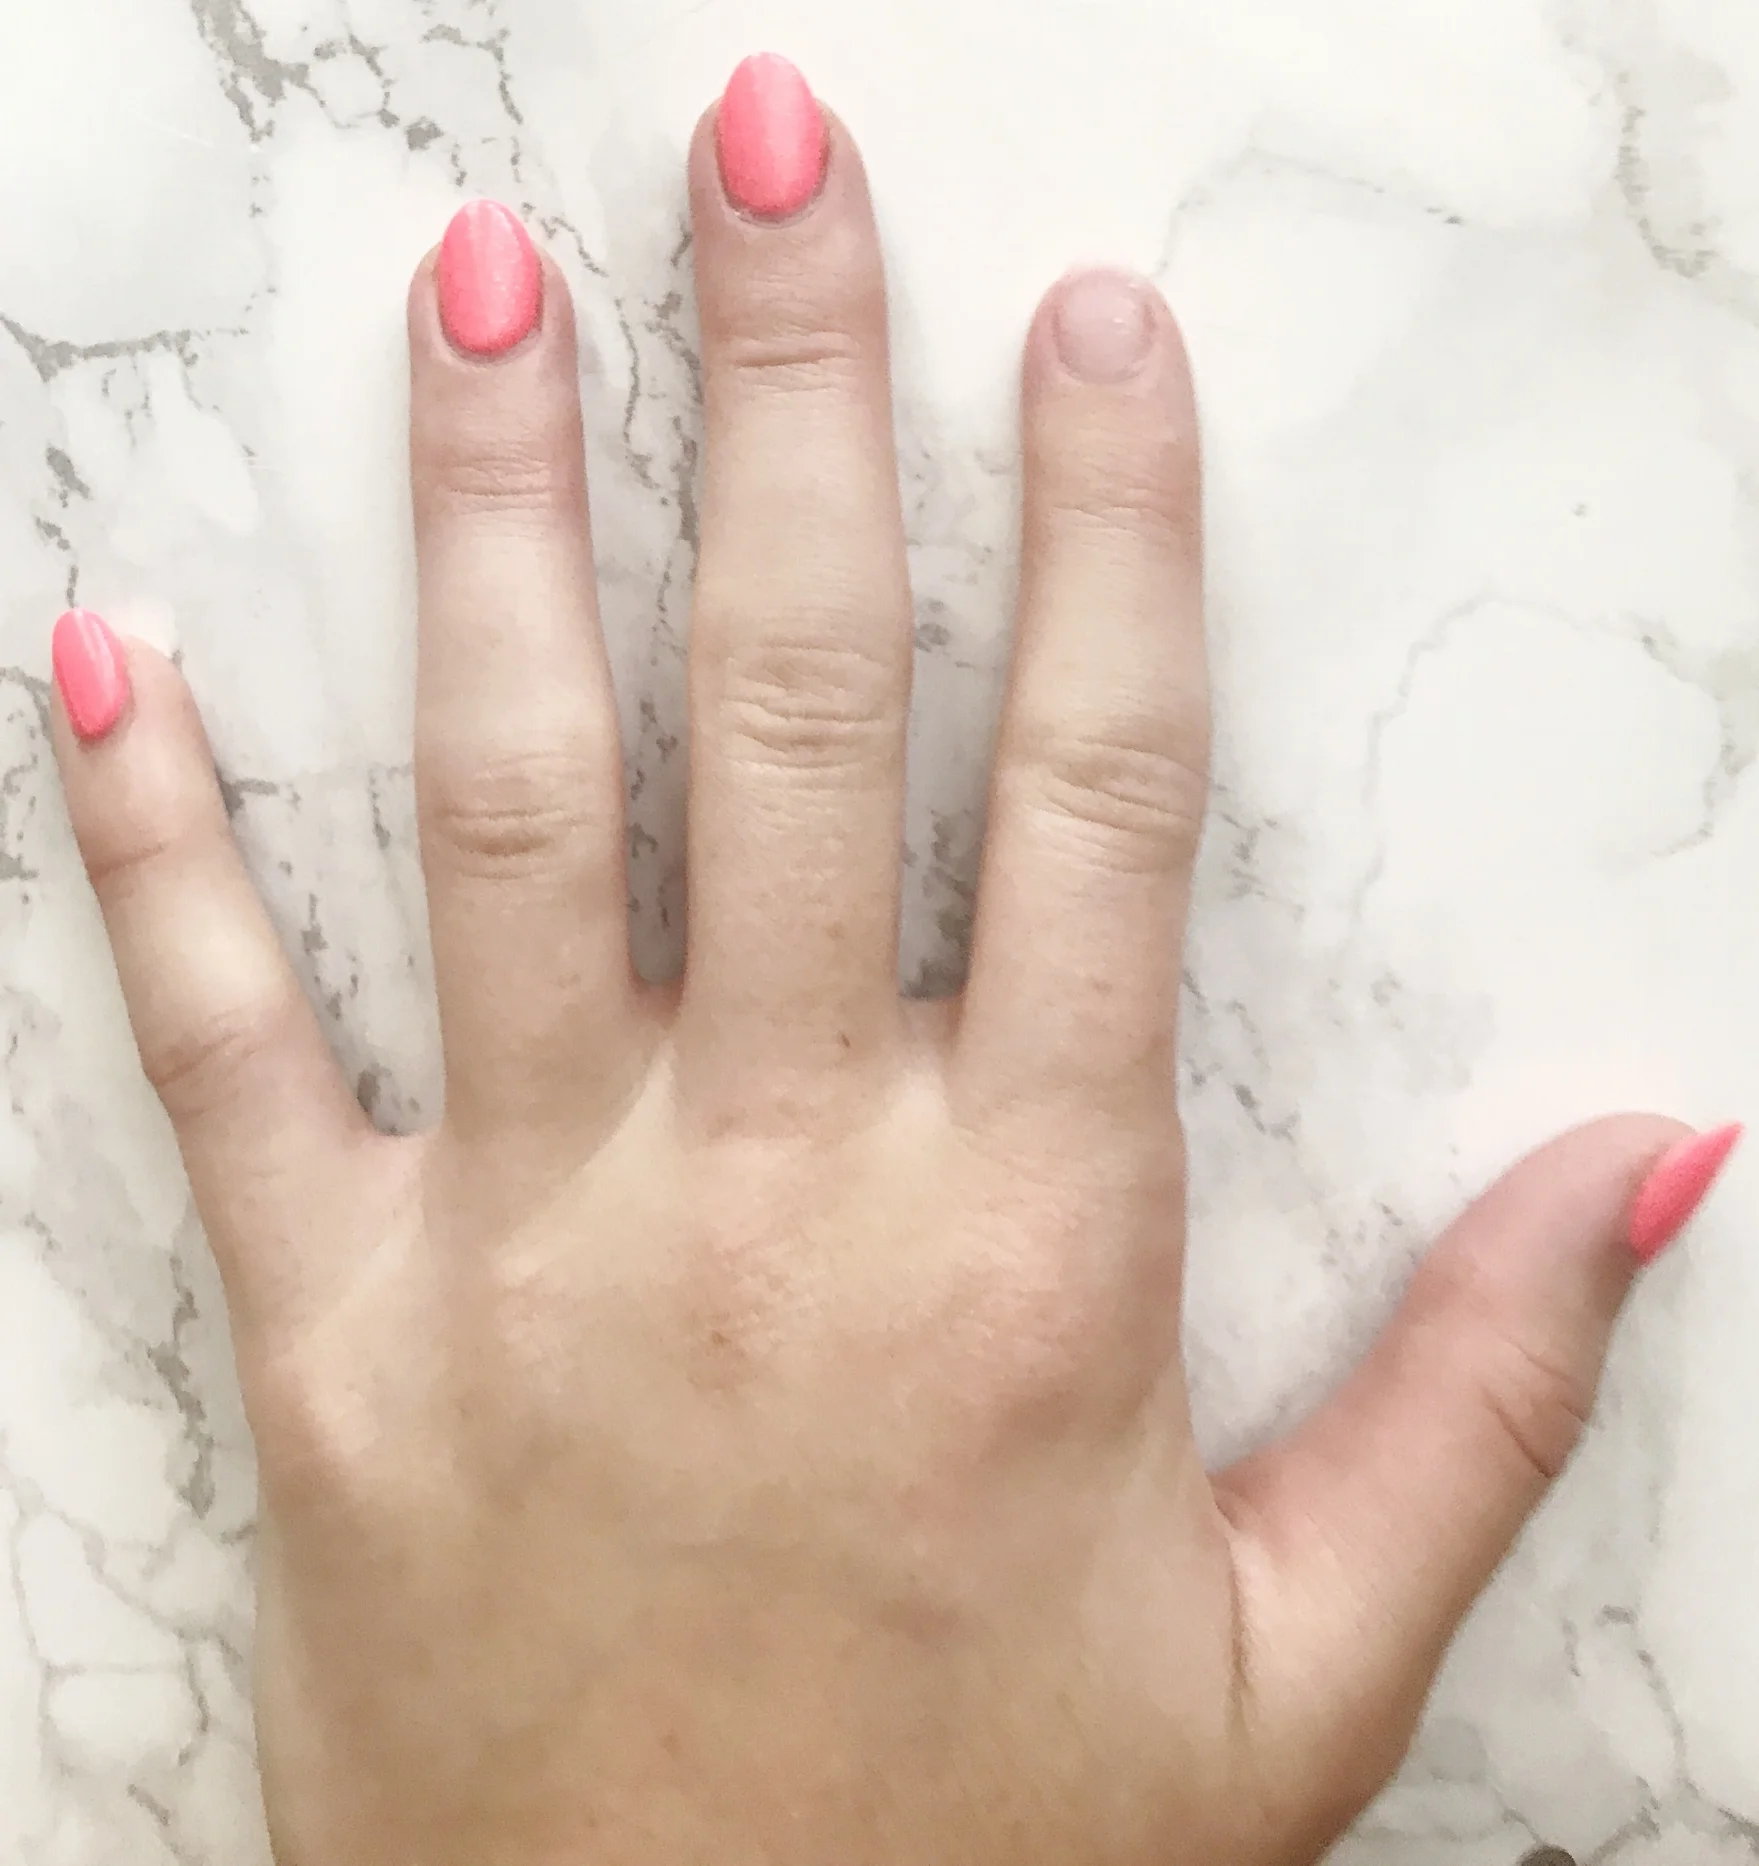

For starters, I push the cuticles back with a nail groomer and file down my nails with my favorite glass nail file to the shape I want it. Then, take a buffer and gently buff the entire nail to get the top shiny layer of your nail off so the polish can adhere.

After filing and buffing your nails, take a lint-free cotton pad and dampen it with rubbing alcohol. Wipe down your nails and let dry before applying a coat of the Prep, shown above. This dries out your nail bed to assist in adherence as well.
Once your prep is dried (about 30 seconds), apply a coat of the base coat, Structure. Let dry under the light for one cycle. All you do if you have the same kit as I do is put your nails under the light and push the little silver button on top. The light is on for as long as it needs to be and automatically shuts off when the cycle is up.


When I do my color, I usually do 2-3 coats depending on the thickness of the color. For this color, it goes on a little light so I actually do three coats with one dry cycle between each.


After your color is done, top with one coat of Brilliance.
*ProTip: When I do dark colors, anything like red, burgundy, or black, I do two light cycles on the last color coat because they are harder to set than the lighter colors are. This prevents any color from getting on the Brilliance brush.
Dry your Brilliance for 1-2 light cycles. 1 is always enough, but if I’m doing 3 color coats I like to do two light cycles on the Brilliance coat just in case.
Once your brilliance is done, take the same cotton pad with rubbing alcohol on it and rub down your nails! They are completely dry and this just removes the tacky layer on top of the gel polish!
All done!
*ProTip 2: I do my four fingers on my left hand until completed, then move on to my two thumbs, and then do my four right fingers so that I can get all of them under the light.
Here is my gel nail polish collection:


Shop this post:


